Ultimate Guide: How To Create Shared Albums On Your iPhone
Since iOS 6, you can share albums with friends and family. Then, with iOS 16, Apple introduced iCloud Shared Photo Library, which is perfect for sharing memories as they're happening. If you're on a trip, at a family dinner, or just enjoying the holiday season, creating a shared album on your iPhone is the best way to easily offer all these moments to all friends and family members. Here's how to create shared albums on your iPhone and why you should use this function now.
The basics: Shared albums on your iPhone
To share an album on your iPhone, you must use Apple's Photos app. In addition, ensure you have signed in with your Apple ID and that the Shared Albums feature is on.
- Go to Settings
- Tap your name
- Then iCloud
- Go to Photos and toggle on the feature
You can share the most common image formats on these albums, such as HEIF, JPEG, RAW, PNG, GIF, and TIFF. Video formats such as HEVC, MP4, QuickTime, H.264, and MPEG-4 are supported.
Perks and limitations
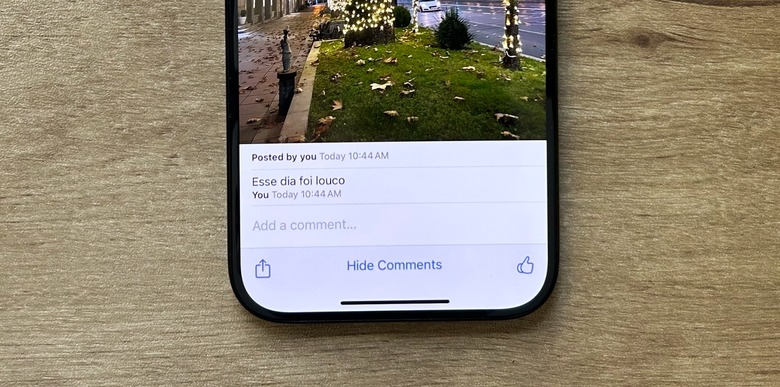
The photos and videos in your Shared Albums are kept in iCloud but don't count against your iCloud storage limit. A shared album can hold up to 5000 photos and videos. If you reach your Shared Album limit, you need to delete some photos or videos before adding new ones. The photos and videos you share (and the comments or likes associated with those photos) stay in iCloud until you or the contributor delete them manually or until you delete the shared album completely.
Videos can be up to 15 minutes long; they're delivered at up to 720p resolution. Photos are reduced to 2048 pixels on the long edge, except panoramic photos, which can be up to 5400 pixels wide. You can share GIFs that are 100MB or smaller.
Photos that you saved or downloaded from a shared album to your Photos library stay in your library even if the shared album is deleted or the person who created the album stops sharing it.
How to create or join a shared album?
To create a shared album on your iPhone, follow these steps:
- Go to the Albums tab and tap the Add button
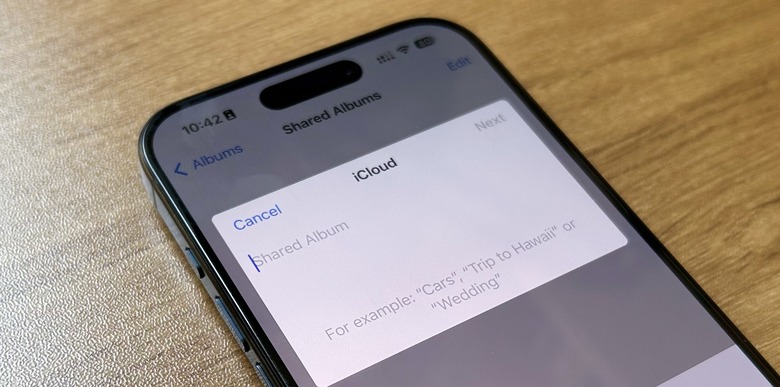
- Tap New Shared Album
- Give the shared album a name, then tap Next
- Choose people to invite from your contacts, or type an email address or iMessage phone number
- Tap Create
To join a shared album someone created, follow these steps:
- When you're invited to join a shared album, a notification appears on your iPhone screen
- Tap the notification, then tap Accept on the album in the Photos app
If you don't join the shared album by tapping the notification, do the following:
- Open the Photos app on your iPhone
- Tap For You
- Tap Accept on the new album below Shared Album Activity
How to add photos and videos to shared album on your iPhone
Now that you have created or joined a shared album on your iPhone, here's how to add photos and videos:
- In the Library tab or from within an album, tap Select and then select the photos and videos that you want to share
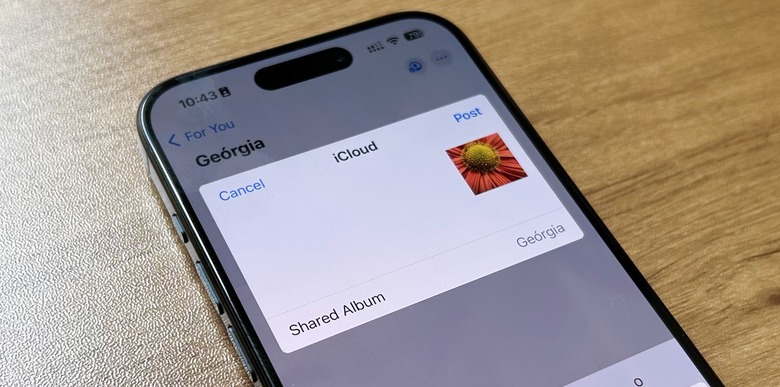
- Tap the Share button, then tap Add to Shared Album
- Choose the album where you want to share your photos. Then tap Post
If you have a shared album open, tap the Add button to select photos and videos to add.
When you add new photos, the people you share the album with are notified automatically. Make sure that Subscribers Can Post is turned on so they can add photos and videos, too.
iCloud Shared Photo Library is another option
Unlike a shared album, iCloud Shared Photo Library moves out your Personal Library into the Shared Library.
You can join one Shared Library and choose what to share or automatically share content straight from the camera. All participants have equal permissions to add, edit, and delete content in the Shared Library. At the same time, the person who set up the Shared Library, the library creator, provides iCloud storage for all of the content. Everyone else gets access to the Shared Library content without it counting towards their iCloud storage.
To set up a Shared Library, you need a device with iOS 16.1, iPadOS 16.1, macOS Ventura, or later with iCloud Photos turned on.
- Go to Settings > Photos, then tap Shared Library.
- Choose up to five people to invite, or you can invite participants later.
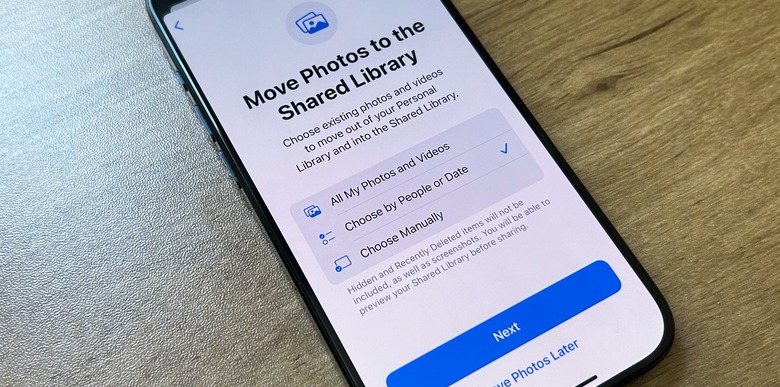
- Choose past photos and videos that you want to move to your Shared Library, or choose to move photos later.
- Follow the onscreen steps to preview your Shared Library, confirm the content you want to share, and invite additional participants.
Personally, the best way to use that is by manually choosing the photos. What makes this option handy is the ability to take a photo and share it with a friend or family member. But unless it's your partner or someone you travel a lot with, I wouldn't recommend turning this feature on.
Here's how to send original files of your photos and videos
Although using the shared albums feature on your iPhone could be very handy, if you want to preserve all the details from the photos and videos, you might need to use AirDrop. That said, follow the steps below:
- In the Library tab or from within an album, tap Select and then select the photos and videos that you want to share
- Tap the Share button, then the Options button
- Toggle on "All Photos Data" on AirDrop & iCloud links only section
- Now, you can send the images to people over AirDrop as if they took it themselves.
Wrap up
Now that you know how to create shared albums on your iPhone, I'm sure the holiday season – and upcoming trips – will become even more enjoyable, especially now that everyone can access all the photos all the time.