How To Screen Record On A Mac
It's surprisingly easy to screen record on a Mac. Whether you want to make a tutorial video, a live stream, or show off your apps, we're going to walk you through the best way to do it. Apple's macOS offers a built-in screenshot toolbar, and you can also use the QuickTime player. If you need a bit more, there are also third-party apps. Here's what you need to know.
How to screen record on a Mac using the screenshot toolbar
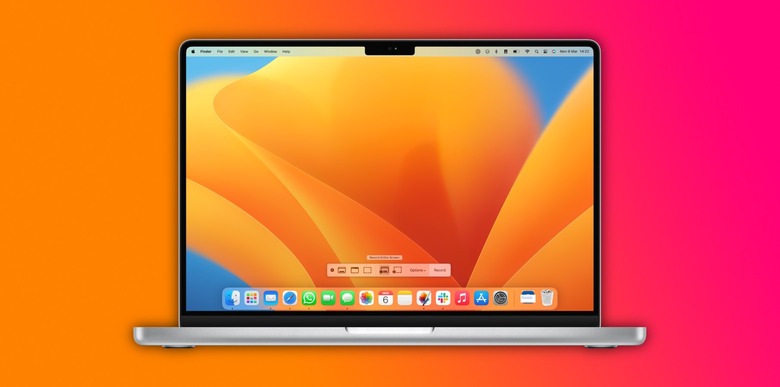
To screen record on Mac using the screenshot toolbar, you need to have the latest macOS operating system available to your computer. Press Cmd + Shift + 5 to open the screenshot bar.
A control bar with different icons and controls will appear at the bottom of your Mac's screen. These controls allow you to make a screen recording or take a screenshot. The fourth icon from the left will let you record the entire screen. The fifth icon enables you to record a selected portion of the screen.
- If you choose Record selected portion, a box will appear. Resize the box to set the frame size of your recording.
- If you choose Record Entire Screen, a camera icon will appear. As the name suggests, selecting this option will record everything on your Mac screen. This is helpful when using multiple monitors. All you need to do is move the camera to the monitor you're interested in recording.
- Select Options to set preferences for your video recording. You can choose what microphone you want to record with audio if you want to show mouse clicks and others.
- After setting your preferred screen recording options, click Record to begin recording. Pressing the Esc key cancels the screen recording before it begins. To stop recording, click the Stop icon in the menu bar at the top of the screen. Alternatively, pressing Control + Command + Esc will also end the recording.
When you stop recording, a video preview will appear at the bottom right corner of the screen. Your screen recording will automatically save to the desktop as a .mov file.
How to trim recorded video
Immediately after a recording ends, clicking on the visible thumbnail allows you to edit the video. Otherwise, double-clicking the video on your desktop will open the recording.
- Open the video recording you want to trim.
- Select Edit on the top left corner of your screen and click on the trim icon.
- Using the slider at the bottom of the screen, set the points where you want your recording to start and end. Click on Trim.
Note that the edited video will replace the original on your desktop.
How to screen record using QuickTime player
This is useful for Mac users running on macOS versions older than the Mojave operating system. QuickTime player uses the same screenshot utility tool as the screenshot toolbar. The difference is that all the controls are in the QuickTime player app instead. The app usually comes pre-installed.
Take the following steps to make a screen recording using the QuickTime player.
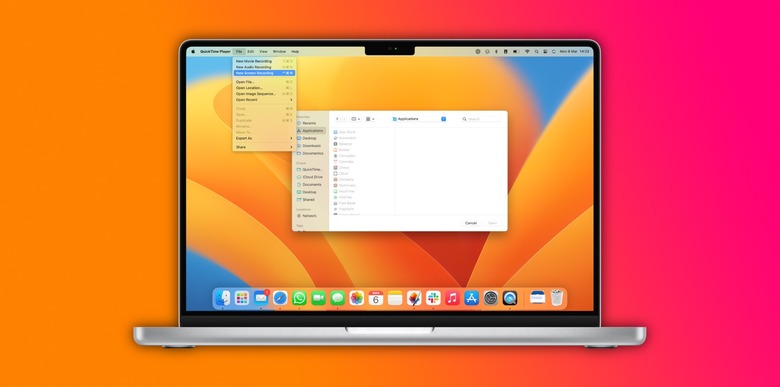
- Open the QuickTime player app and select File from the top menu bar. Choose New Screen Recording from the dropdown menu that appears. This will launch the screen recording window.
- Click on the red record button to start recording. To record the entire screen, click anywhere on the screen.
- Drag the cursor over the screen to select your desired frame size to record a selected portion. Click on the record button anywhere within this area.
- If you want to record audio, click on the arrow beside the record button and choose what microphone you wish to use
- Click the black record button in the top menu bar to stop recording. Pressing Command + Control + Esc will also end the recording.
- Once you stop recording, the video will open automatically. You can watch, edit and share your recording from here.
You can save your video by pressing Command + S. To save to your desired location, click File through the QuickTime menu, then Save.
How to screen record on Mac using third-party apps
If you desire more screen recording capabilities than Mac's built-in tools have to offer, there are many handy third-party apps.
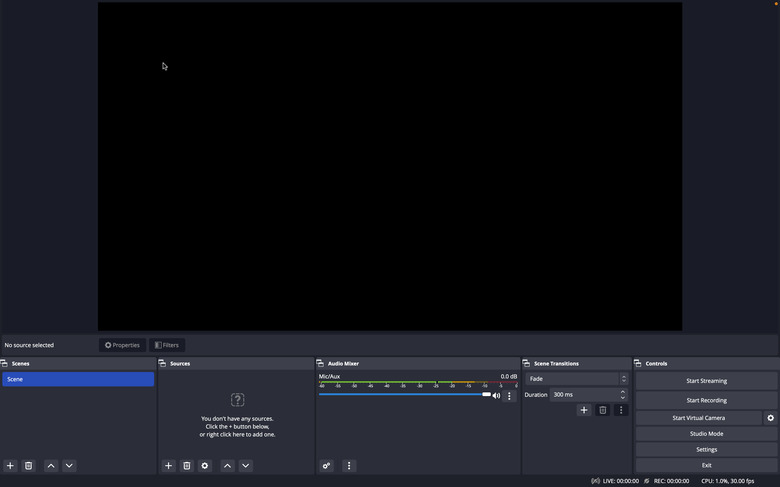
OBS Studio
Loom

Loom is available as a desktop app and also as a Chrome extension. There's a free version of Loom, but this allows you to make recordings for a maximum of five minutes. After recording a video, you can choose to save it to Loom's native cloud storage. From your dashboard, you can then create a link to the video to share with others.
FAQ
You can use the built-in screenshot utility tool if you're running on macOS Mojave or newer versions. You can also use many third-party screen recording applications to screen record on a Mac.
There's no time limit on how long screen recordings can be on your Mac. You can make videos as long as you desire, as far as you have enough storage space.
Yes, the QuickTime player app can record audio.
To record audio when using the QuickTime player, do the following:
Launch the QuickTime app.
Click on 'File' from the top menu bar and select 'New Screen Recording'.
A screen recording window will appear on the screen.
Click on the arrow beside the red record button.
From the dropdown menu displayed, choose the microphone you want to use.
Press Cmd + Shift + 5 to open the screenshot bar.
If you choose 'Record selected portion,' a box will appear. Resize the box to set the frame size of your recording.
If you choose 'Record entire screen,' a camera icon will appear. This is helpful when using multiple monitors. All you need to do is move the camera to the monitor you're interested in recording.
Select 'Options' to set preferences for your recording.
Click 'Record' to start recording.
To stop recording, click the Stop button in the menu bar at the top of the screen.
This method only works for users running on macOS Mojave or newer macOS versions. If you're running an older version, try using QuickTime player. OBS Studio, Loom, and Snagit are also excellent third-party options.
All the screen recording tools on Mac have options that allow you to record with audio. Whether you're using the screenshot utility tool or Quicktime, enabling your microphone will allow you to record with audio.