How To Screenshot On Mac: The Expert Guide (Updated 2022)
Taking a screenshot is almost a daily occurrence in my line of work. But even if you're not a tech writer putting together how-to guides, you may need to take a screenshot every now and then — and to do so, you'll need to know how to take a screenshot on the Mac.
There are several ways to take a screenshot on the Mac and the different methods offer different results. For example, you can take screenshots of everything on the screen and attached screens. Or, you could take a screenshot of just a portion of the screen. You can even select individual windows to take screenshots of.
No matter what you want to take a screenshot of, here's how to take a screenshot on a Mac.
How to screenshot an entire screen on a Mac
Taking a quick screenshot on your Mac is pretty straightforward. You can quickly do this using the right keyboard shortcut.
This method will take a separate screenshot for each display if you have multiple displays.
Here's how to take a screenshot on the Mac.
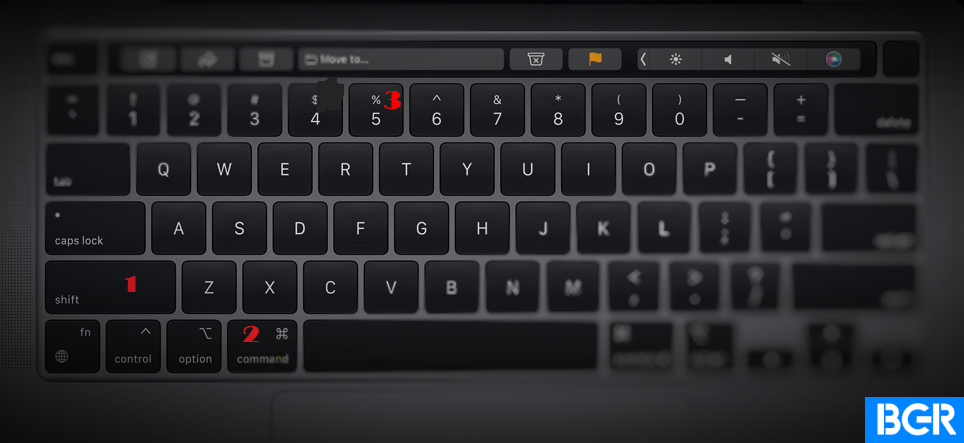
- Press Shift, Command, and "3" simultaneously.

- Your screenshot will appear in the bottom right-hand corner of the display. You can click on it to edit it or ignore it, and it will save it to your computer.

That's all there is to it. Easy!
How to take a screenshot of the portion of a screen on the Mac
Perhaps you want to take a screenshot of just a portion of your Mac's screen. This method highlights the portion of the screen you wish to capture and crops it away from the rest.
Here's how to do so.
- Press and hold down the Shift + Command + 4.

- Use your mouse or trackpad to highlight the section of the screen you want to capture.
- Release the mouse button, and the screenshot will appear in the bottom right-hand corner of the screen. You can click on it to edit it. Alternatively, it will automatically save to your computer.
How to take a screenshot of a window on the Mac
You can screenshot a particular window on your Mac if you wish to. The method is similar to the one outlined above.
To take screenshots of a window on your Mac:
- Press Shift + Command + 4, and then hit the Space bar simultaneously.

- Highlight the window that you wish to screenshot and click on it.
- Your screenshot will appear at the bottom right-hand corner of the display. Click on it to edit it or leave it, and it will automatically save it to your computer.
Similarly, if you wish to crop more information off of the entire screen, you can adjust the height and width of the highlight box.
Here's how.
- Press Shift + Command, + 4, and then hit the Space bar simultaneously.

- Highlight the window that you wish to screenshot and click on it.

- Press and hold down the Shift key. This allows you to adjust the highlight box to your desired height or width. Also, you can adjust the orientation of the highlight box from height to width by tapping the Shift key again.

- Next, let go of your mouse or trackpad button to take the screenshot.

How to use the Screenshot Menu
Some of the updated versions of macOS come with a screen recording or screenshot application. This app has a list of screen-grabbing tools that Apple desktop users can use to capture on-screen information effectively.
This menu panel may be used by users who do not know the various keyboard shortcuts for their system.
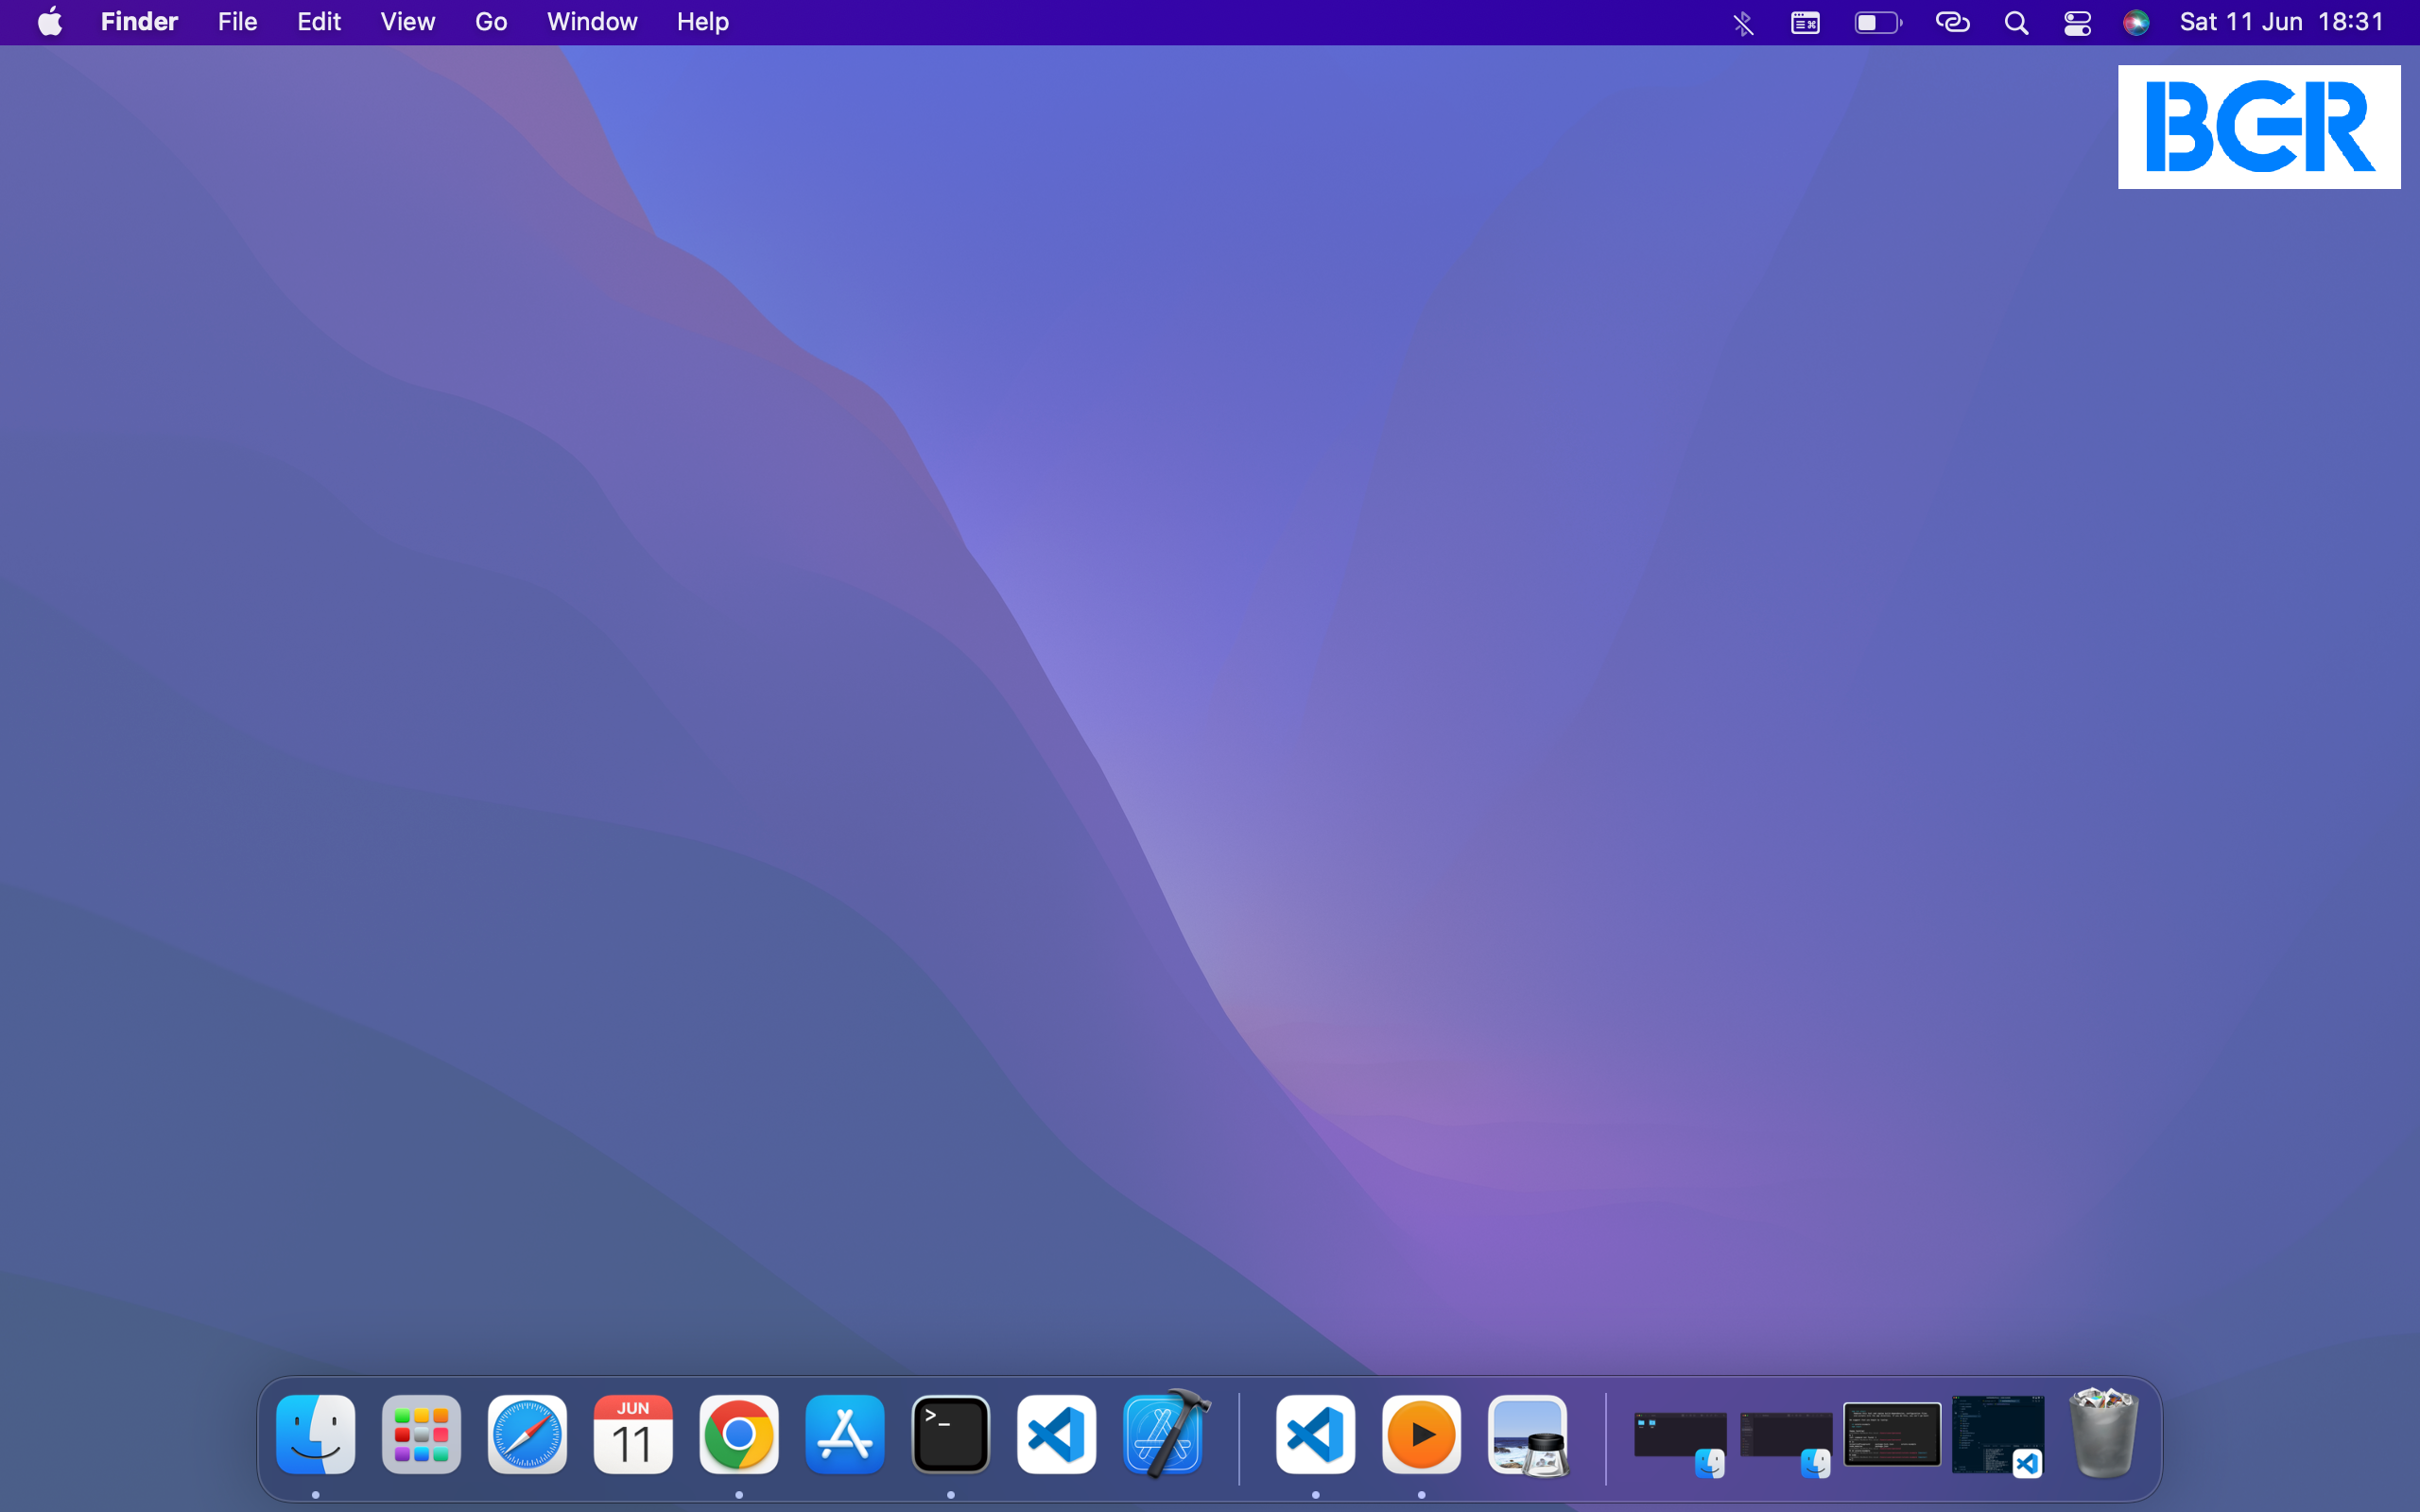
To open this app, press the Shift + Command + 5 shortcut. This will immediately display a small panel at the bottom of the screen.
The first three icons take screenshots of the entire screen, a specific window, or a highlighted area. The following two allow you to make screen recordings of a highlighted area or the entire screen.
The last button on the right, the "Capture" button, is used for screenshots. The "Options" drop-down menu beside the "Capture" button allows you to personalize your screenshots.
You get to set a time delay to better prepare for effective Mac screenshots or choose where you want your screenshots to be saved.
Another screenshot tool on this drop-down menu worthy of mention is the "Show floating thumbnail" option.
This thumbnail option is usually enabled by default and acts as proof that a screenshot has been taken. It grants you access to markup tools used to annotate screenshots.
The floating thumbnail option gives you immediate editing access to a screenshot. It appears as a tiny thumbnail for a few seconds on your screen and permits you to edit when clicked. You would notice this thumbnail at the bottom right corner of your Mac after every screenshot.
You should note that your screenshot will not save to your Mac until this thumbnail disappears. Nevertheless, you can click on the thumbnail and drag the mouse pointer off the screen to make it disappear faster.
Where are screenshots saved on a Mac?
All of your screenshots are saved in a default spot on your desktop. It will automatically be named "Screenshot" or "Screen Recording," followed by the date and time of the Image.
However, you can change that if you prefer another location.
Follow the instructions below to change where screenshots are saved on your desktop.
- Open the Screenshot app on your Mac. Press Shift + Command + 5 to do this.
- Press the options menu, then select another location for your screenshots to be saved. You can select any documents folder on your desktop as a location for saving screenshots.
How to change screenshot format on a Mac
By default, Macs save screenshots in PNG format. Some people prefer the JPG format, as it's usually smaller in file size and therefore better for social media content.
Here's how to change the file format for screenshots on your Mac.
- Open the Terminal app. You can do so by pressing Command and Space bar simultaneously. Type "Terminal" and click on the app that shows up.
- A text will be displayed in the app when it opens. Ignore it.
- Type "defaults write com.apple.screencapture type JPG" if you want to save screenshots to a JPG.
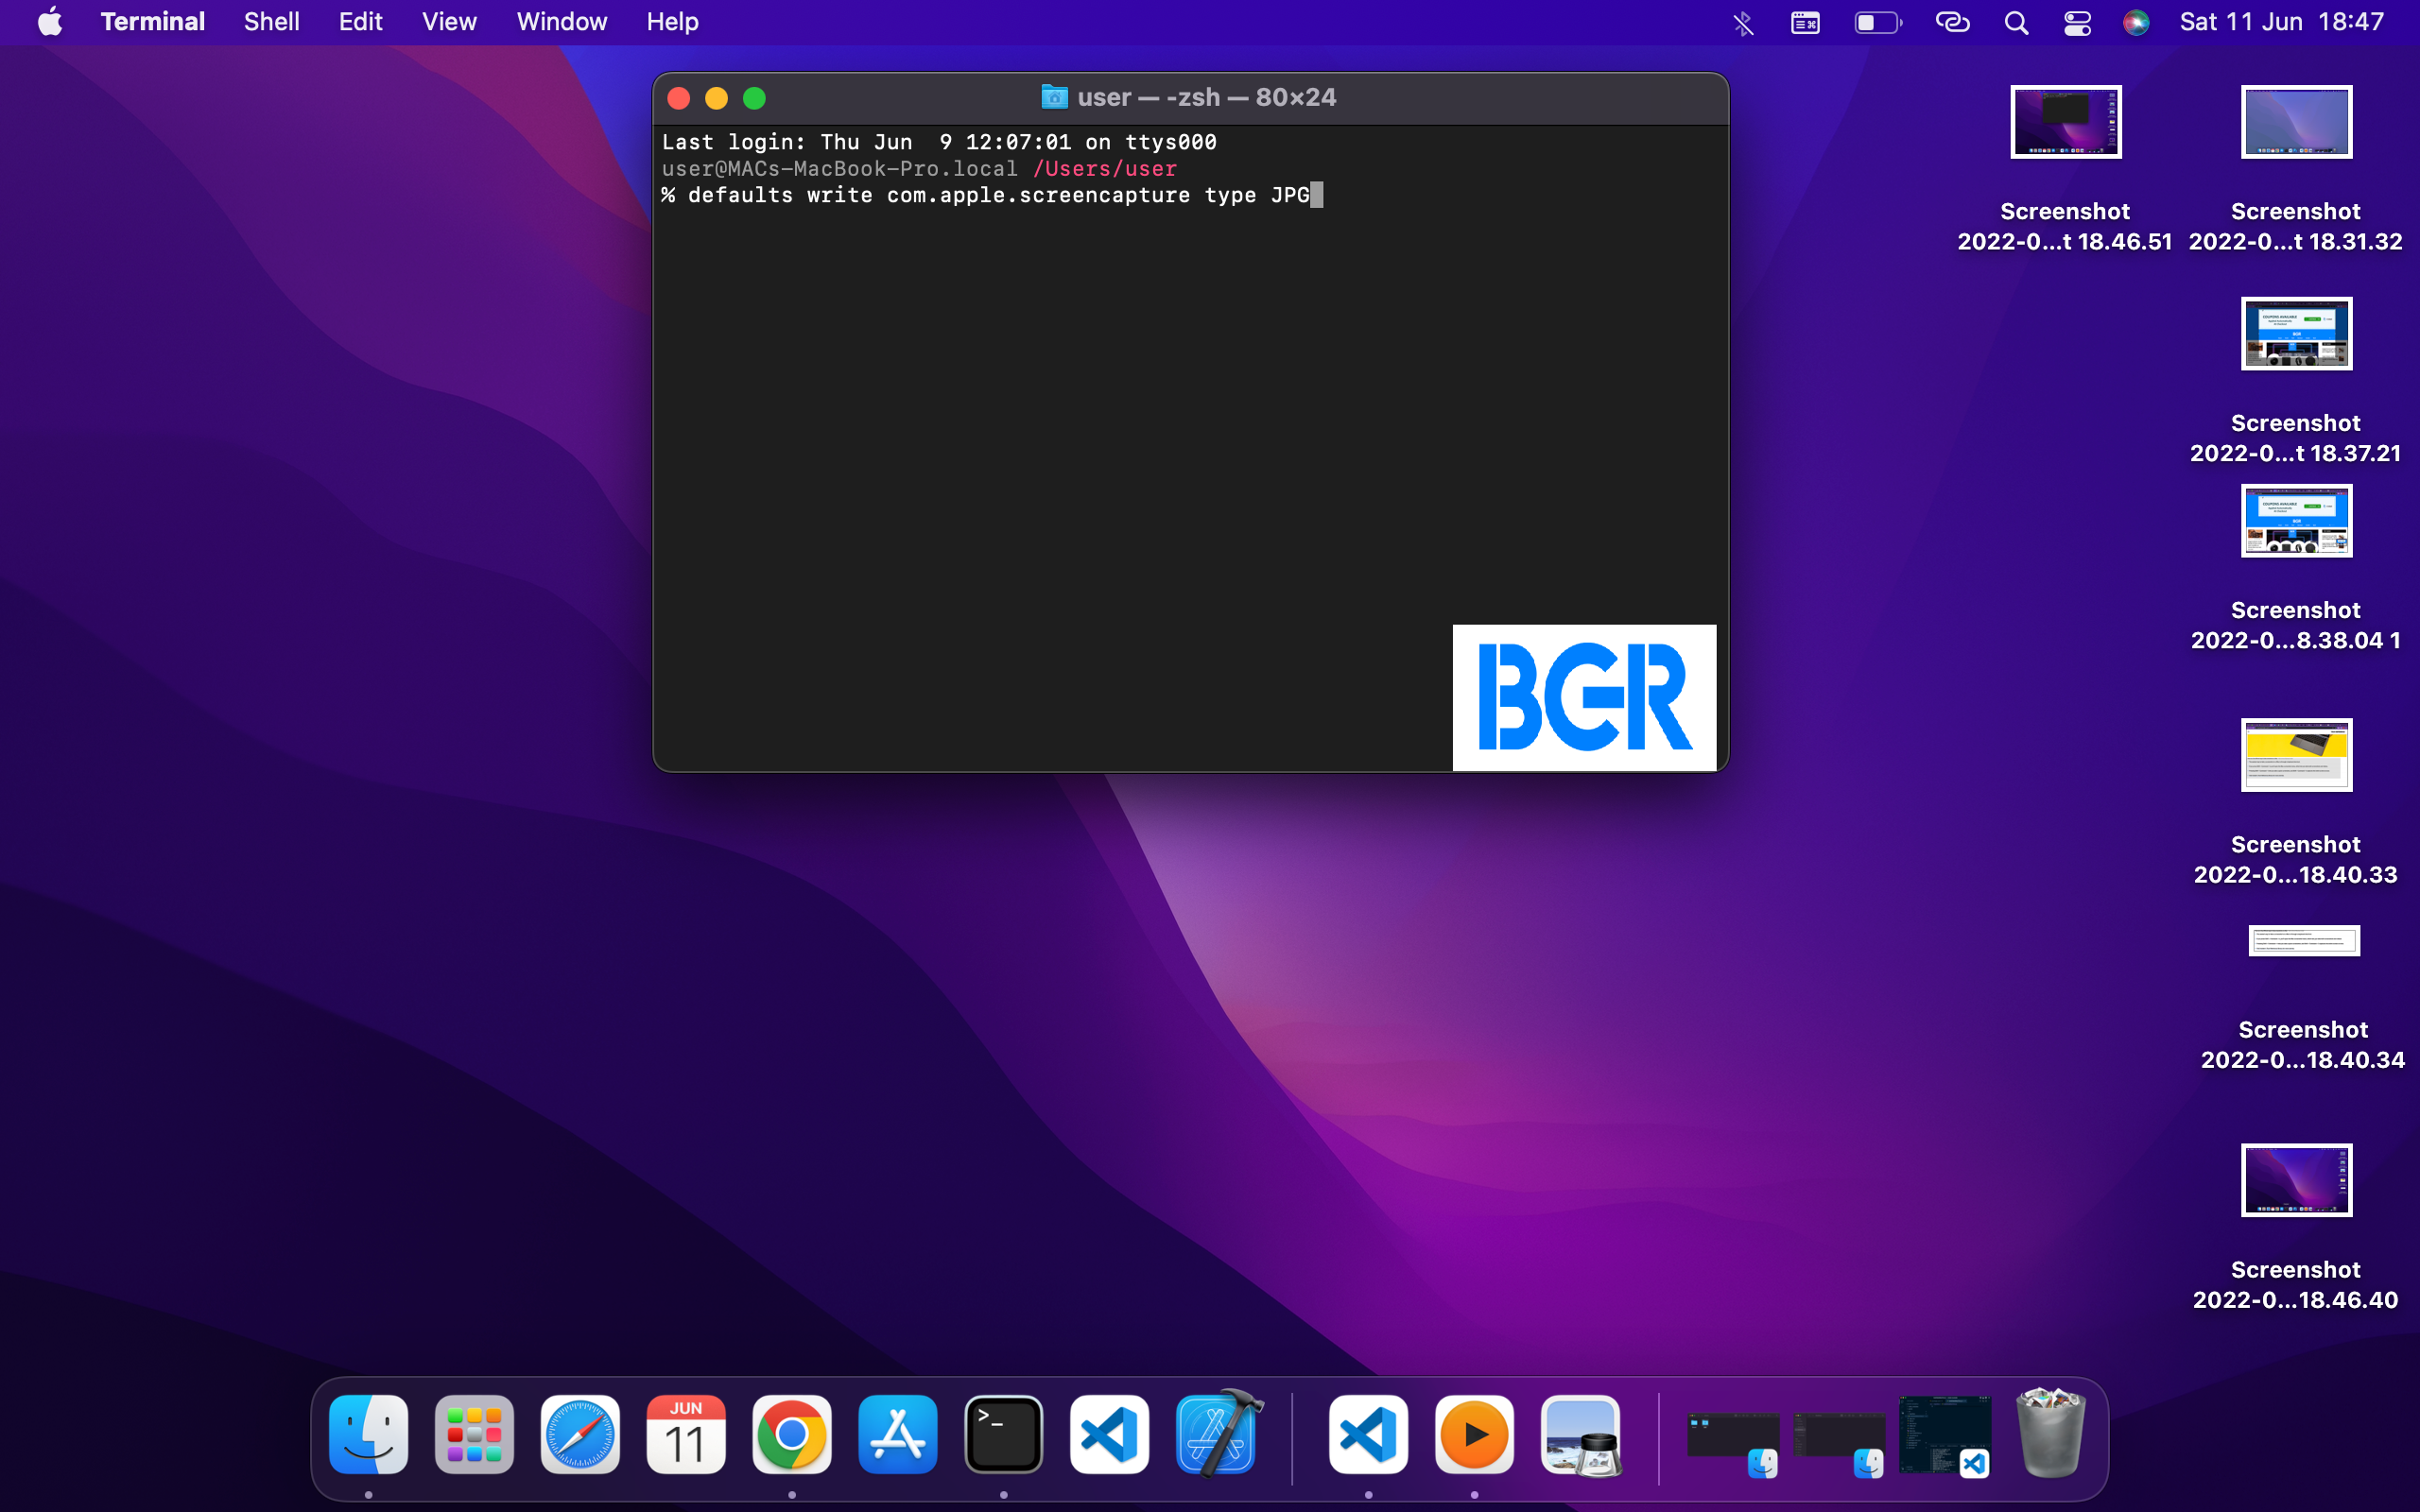
- Alternatively, you can save to TIFF, GIF, PDF, or PNG files. To do so, replace "JPG" with the option you want.
- Press return.
- Your screenshots should now save in your preferred format. If they don't, restart your computer. Then they should save in your selected format.
How to screenshot an image of the Touch bar
Press Shift + Command + 6 to screenshot your Touch bar and everything displayed on it.
Indeed, you would be unable to take screenshots of a Touch bar if your Mac does not come with one.
How to customize Mac keyboard shortcuts
You can customize your keyboard shortcut with other keys that you can easily remember.
To do this, navigate to the "System Preference" on your Apple Menu and click "Keyboard."
Next, click "Shortcuts" and proceed to make your shortcut combination.
FAQ
To re-enable Mac screenshot hotkeys, do these-
Navigate to the System Preferences on your Apple Menu and click "Keyboard."
Click the Shortcuts tab in the keyboard window
Click "Screenshots" in the shortcut tab
Check all the shortcut boxes you wish you re-enable
Close the window
You can press and hold the Shift + Command + 5 keys together to open the Screenshot menu. There, you can choose to either take screenshots or screen recordings.
Also, you can press Shift + Command + 3 alternative for a quick screen grab of the entire screen.
To take screenshots on your Mac when it isn't allowed,
Restart your System. If you do not shut down your Macbook for a while, some applications and programs will likely run slower or stop running. A simple restart fixes many issues and saves you a lot of stress. Hold down the power button and choose the Restart option.
Check the keyboard shortcut settings. You might have customized and disabled it at some point.
Use the "Grab" application. Open "Applications" and click on "Utilities." Next, click "grab" and then proceed to capture your screen.
If you're using macOS Mojave and later versions, you can crop screenshots as soon as you take them using the built-in screenshot cropping tool.
After typing in any of the shortcuts to take a screenshot on a Mac, a thumbnail will appear at the bottom right of the screen. Follow these steps to crop the screenshot you've just taken.
Click on the thumbnail bottom right of the screen.
Press the Crop icon at the top right corner of the screen.
Click and drag over the area you're interested in.
Click on Done when you're through.
The snipping tool on Mac can be accessed by pressing down Shift, Command, and "5" simultaneously. The snipping tool can capture entire screens, portions of the screen, or windows of your choice.
To edit a screenshot on your Mac, double-click an image to open it in Preview. Select Tools from the menu bar. Then choose any of the editing tools that you need.
MORE HOW-TO COVERAGE: Check out how to enable dark mode in Snapchat