These 3 Hidden iPhone Menus Have So Many Secret Features
Anyone can use the iPhone relatively quickly after taking it out of the box and setting it up. The basic features are immediately evident, and you will discover the more advanced ones as you explore the operating system. And if you want to go "pro," you can learn more advanced iPhone features that let you make the most of the handset. Mastering the hidden iPhone touch gestures that make interacting with apps faster than usual via Quick Actions is one trick to help you become a more advanced iPhone user.
In what follows, we'll show you 3 hidden iPhone menus that have all sorts of great features. This will let you perform actions faster than before and make your life easier. We will look at Control Center, Quick Actions, and Accessibility.
1. How to use and customize Control Center
Control Center is one of the most important areas of your smartphone. It's a panel with quick switches and menus that let you bypass the Settings app. But it's also a region of the iPhone that newer users might not necessarily be aware of. Even some longtime users are unaware that the Control Center is hiding on their iPhones
To open the Control Center, you have to swipe down from the top right corner of an iPhone with a notch design. That's the iPhone design most people use.
But as CNBC rightly points out, some users might still use an iPhone with a home button. On iPhone with home buttons, you'll have to swipe up from the bottom of the screen.
In either case, the Control Center is pre-populated with default switches that are very handy. You can control the volume and screen brightness, and you can manage wireless connectivity with ease. That means toggling cellular, Wi-Fi, and Bluetooth connectivity. Moreover, you can enter Airplane Mode from here.
There's also a music player at the top and buttons for the flashlight, camera, calculator, and Low Power Mode.
The best part about the Control Center is that you can make it your own. Go to Settings, Control Center, and then tap the + (plus sign) to add any options you might want to have in this shortcuts panel. Tap the - (minus sign) to remove the ones you don't want to see in there.
It's easy to get excited about all the shortcuts you can add to Control Center this way. But cluttering it with too many options might make it difficult to navigate.
- Bonus tip: When in the Control Center, long-pressing on some of the icons will bring up additional menus with even more controls. That's where the Quick Actions gesture comes in, an iPhone feature we will address in the following section.
You need to know about the long-press
Before we get to Quick Actions, you need to get used to the "long-press". That means touching and holding on the screen until you receive some sort of feedback from the iPhone. It's usually a tiny vibration.
You're already used to tapping and holding on the screen right from the Lock Screen to turn on the flashlight. You can also access the camera that way.
- Bonus tip: In iOS 16, long-pressing anywhere on the Lock Screen will let you customize the number of Lock Screens and their functionality.
After you unlock the handset, you can long-press anywhere on the screen to bring up widgets. As soon as the apps start to jiggle, look for the + sign to add widgets to the screen.
- Bonus tip: the same gesture lets you rearrange the apps on the screen and in folders. Just drag and drop them around. Also, you will want to long-press the wallpaper or an app to remove apps from the screen. Just press the - sign.
But the actual usefulness of the long-press gesture is the Quick Actions.
2. How to use Quick Actions on iPhone
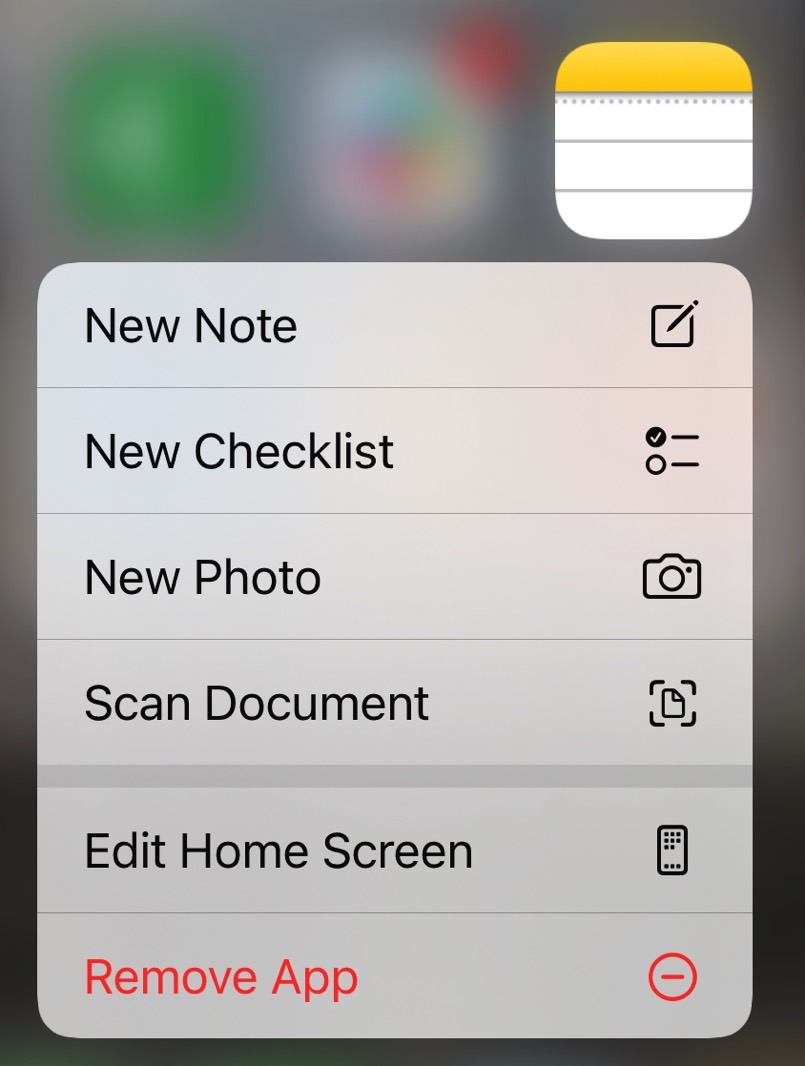
Long-press on an app, and you'll be able to access app menus without going into the app. Those are the Quick Actions we're looking for. And that's what will turn you into a pro iPhone user.
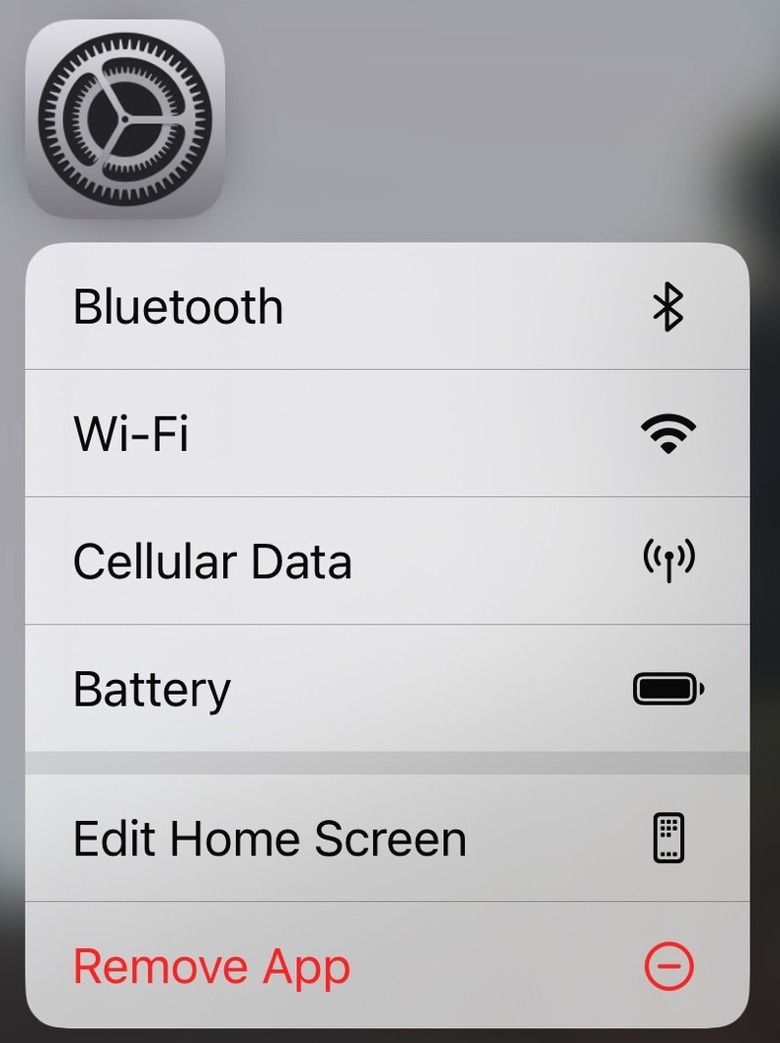
One of my favorite Quick Actions is long-pressing on the Settings app. It gives me access to quick shortcuts for Bluetooth, Wi-Fi, Cellular Data, and Battery.
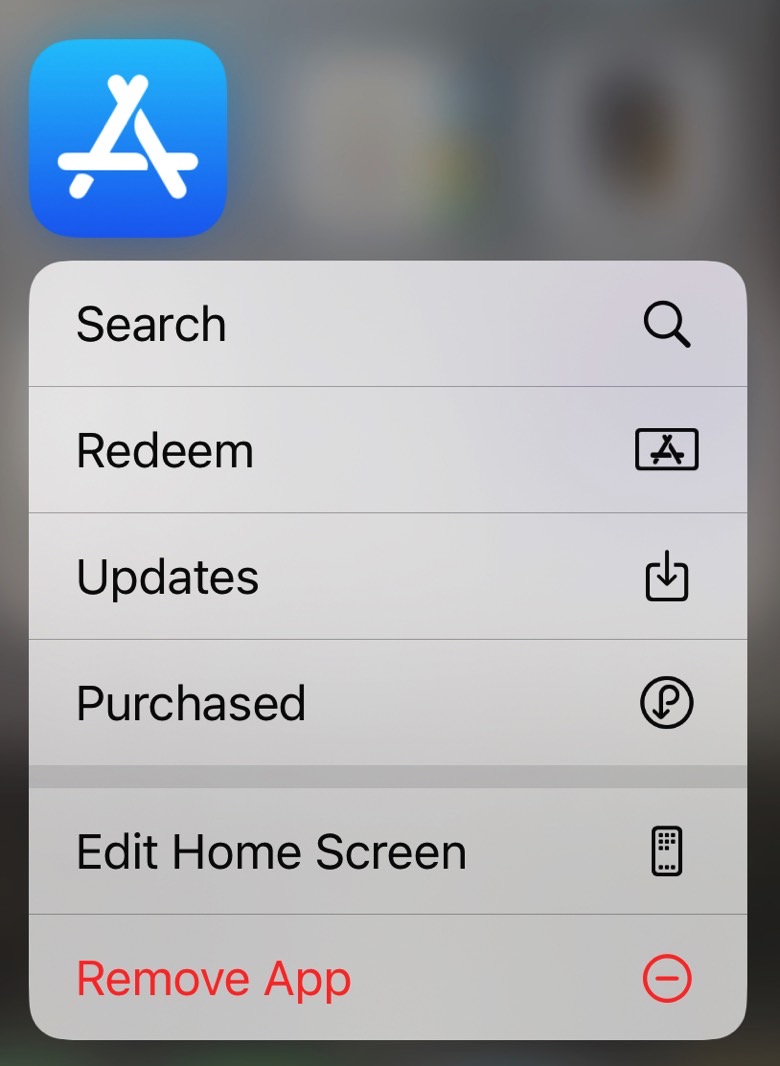
Similarly, the App Store app has its own Quick Action shortcuts. The one I use most is Updates, which lets me save time when checking for recent app updates.
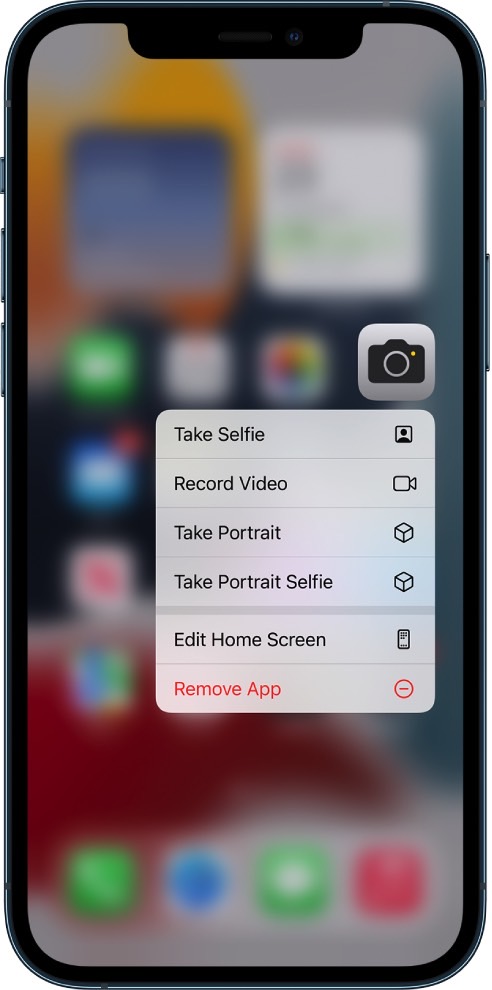
The Notes app has a Quick Actions item that starts scanning a document right from the app icon. And the Camera app's Quick Actions let you take predetermined types of photos or videos, as seen below.
Put differently, many default iPhone apps have Quick Actions available. Third-party apps can also offer all sorts of useful shortcuts.
These aren't secret app features that are unavailable anywhere else. You'd be able to manage wireless connectivity, check the battery, and see if you have app updates waiting for you by going into the apps. And you can scan documents by going into the Notes app.
What these hidden menus do is reduce the time you waste navigating screens to get to the desired app functionality you wanted.
- Bonus tips: If you linger too long on an app while long-pressing, you will move beyond the Quick Actions menu and the apps will start to jiggle. The iPhone will think you want to rearrange/delete apps or add widgets to the screen. If that happens, just tap any empty space on the screen to start over.
- Long-pressing also works inside certain apps. Just touch, hold, and see what happens.
With all that in mind, remember to long-press the icons in Control Center to bring up hidden menus.
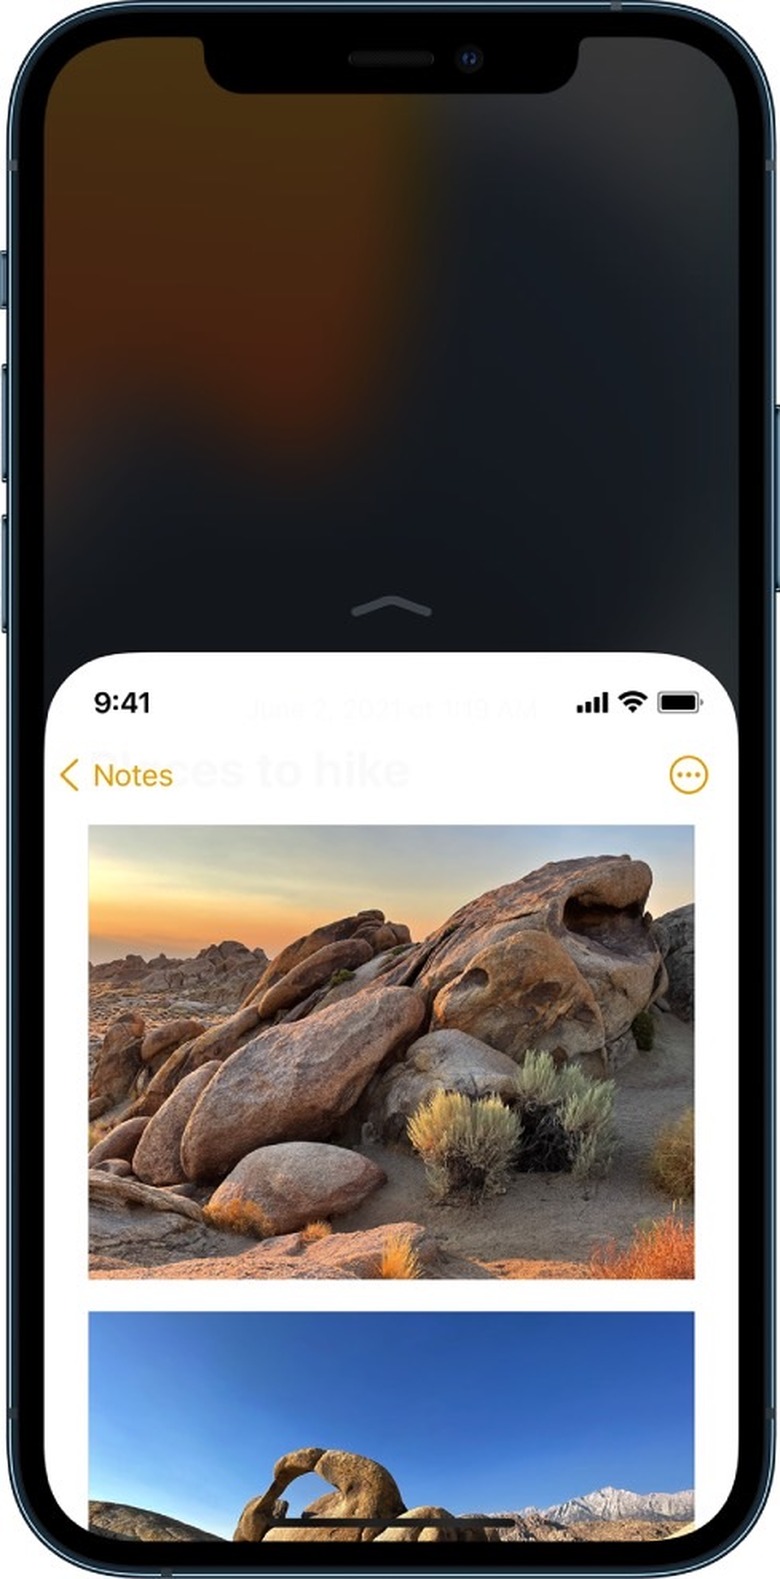
Reach the top of the screen with Reachability
We've been talking about Reachability for years, an iPhone Accessibility gesture you should master.
Swipe down on the bottom edge of the screen. Or double tap on the Home button on iPhones without Face ID. This simple gesture will let you lower the screen and access the top half with one hand.
You can go to Settings, Accessibility, and Touch if it's not enabled. Look for Reachability and enable it.
- Bonus tips: You can combine Reachability with other gestures. For example, swipe down on the screen to lower the top edge. Then swipe down on the right corner, and you will open Control Center.
- Similarly, swipe down to lower the screen and then swipe again from the top edge to bring up the iPhone's universal search feature. In iOS 16, you'll have a Search button on the bottom of the screen that you can press for that gesture.
- Finally, you can use Reachability to lower the screen and then long-press on an app that sits high up on the screen to initiate a Quick Action. Or you can set up a widget.
3. More Accessibility features on iPhone
While we're focused on Reachability to combine it with Quick Actions and Control Center use above, you should also remember the iPhone's Accessibility menu.
This is the third hidden menu you need to know about. It's a Settings menu that's often overlooked, but it contains plenty of gems that can improve the way you use your iPhone.
For example, the Zoom section lets you control the zoom experience on the screen, a must-have feature for certain iPhone users. The Display & Text Size can also help improve the legibility of text on the screen.
The Face ID & Attention menu is another hidden setting you should visit to enable the Require Attention for Face ID feature.
The Per App Customization menu will let you customize settings for certain apps to improve your overall experience.
These are just a few examples, but you should definitely take the Accessibility menu for a spin to discover a few useful iPhone features that should improve your overall experience.
More iPhone coverage: For more iPhone news, visit our iPhone 14 guide.