9 Convenient Windows 11 Settings You Didn't Even Know Were There
Microsoft launched Windows 11 over one year ago, but according to StatCounter, its market share has yet to eclipse 20%. More than two-thirds of Windows users are still on Windows 10, but as the retirement date for the previous version of the desktop OS approaches, most users will eventually (and begrudgingly) update to Windows 11. Once they do, they should return here to learn about the top Windows 11 settings that are surprisingly difficult to find.
1. Access the classic context menu
If you right-click anywhere on your desktop or in File Explorer on Windows 11, you'll see a stylish context menu with rounded edges and new options. Although it looks much nicer than the original context menu, you might prefer the old version. Thankfully, you can still access the classic context menu by clicking Show more options (or Shift+F10).
2. Put the Start menu back where it belongs
When developing Windows 11, Microsoft made several major changes, seemingly just to shake things up. The most annoying of those changes was moving the Start menu over to the center of the taskbar by default. In order to put it back on the left side — where it belongs — right-click your taskbar and click Taskbar settings. Scroll down, click the Taskbar behaviors section, and then in the drop-down menu next to Taskbar alignment, choose Left.
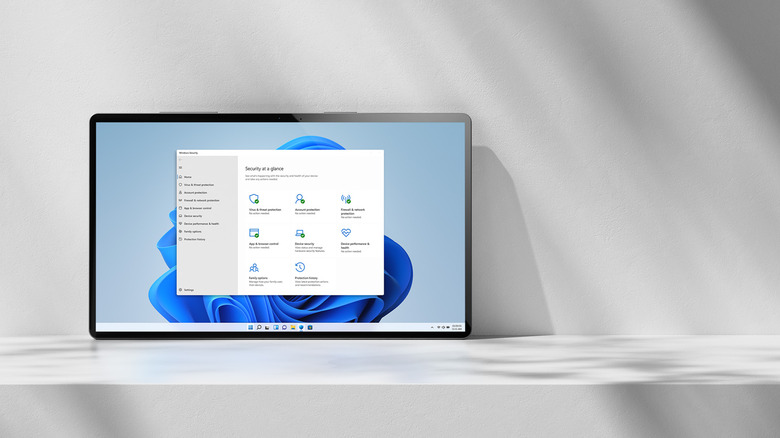
3. Toggle on Dark mode or Light mode
Windows 11 automatically toggles on Dark mode or Light mode based on the desktop background you choose. This is a neat feature, but personally, I don't want all of my apps to look different each and every time I decide to switch up my background.
If you feel the same way, you can manually adjust the mode of your PC by heading to Settings > Personalization > Colors, and clicking on Choose your mode. From here, you can choose your default Windows mode and your default app mode. I prefer for Windows to be in Dark mode, but I like my apps to be in Light mode, so I use the Custom setting.
4. Change defaults apps
Unsurprisingly, Microsoft wants you to use all of its first-party apps on your Windows 11 computer, but that doesn't mean you have to. If you want to change any of your default apps, go to Settings > Apps > Default apps. From there, search for the app you want to make the default (Chrome, for example), click on the app, and hit the Set default button.
5. Start a focus session
Your computer is full of distractions, but Windows 11 comes with a feature to help limit distractions if you need to focus on work. The feature is appropriately called focus.
There are several ways to start a focus session on Windows 11 — which activates do not disturb, makes it so apps in the taskbar don't flash, and turns off badge notifications on apps in the taskbar — but the easiest is to click on the time in the taskbar and click on the Focus button in the bottom right corner. You can set the time that your focus session lasts to the left of the button — hit the - and + buttons to decrease or increase the time of the session.
6. Minimize everything with a shake
If you frequently have multiple apps on your display and want an easy way to minimize them all at once, Windows 11 has got you covered. Go to Settings > System > Multitasking and turn on the Title bar window shake. Now, whenever you grab the title bar of a window and shake it around, every other window will minimize automatically.
7. Access the hidden Start menu
The Windows 11 Start menu isn't nearly as useful as the Start menus from Windows past, but did you know there's a second, hidden Start menu? If you right-click on the Start menu in the taskbar, you can easily access everything from the hidden menu, including Installed apps, Settings, Task Manager, File Explorer, Terminal, and more.
8. Use voice-to-text anywhere
Whether you use voice-to-text out of necessity or just because you prefer it, Windows 11 makes it easier than ever to type with your voice from anywhere.
Just click on the text box where you are going to write, and press Windows Key + H. A small app with a microphone will pop up and start recording. As you speak, everything you say will appear on the screen. You can also turn on automatic punctuation in the app's settings.
9. Control the volume of individual apps
If, for whatever reason, you have multiple apps making noise at once and you want to manage the volume of each app individually, you can do that on Windows 11. Head to Settings > Sound, and under Advanced, click Volume mixer. You will see all of your open apps, and you can adjust the volume slider next to each app to change the volume.