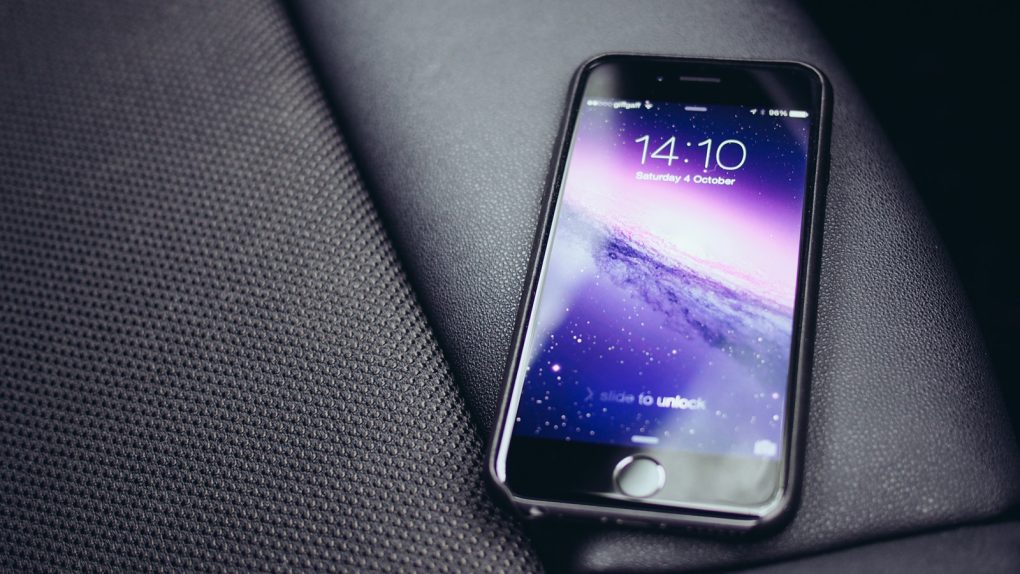
Apple’s introduction of Face ID on the iPhone X dragged the conversation about iOS security back into the spotlight — and that’s always a good thing. People are far too lax with the security on their smartphones. In fact, many people out there don’t even bother to secure their iPhones and Android phones with a passcode. Then when they lose their phones and their personal information is compromised, they complain and act surprised.
In iOS 11, Apple has provided users with a number of tools to ensure that personal files and data remains secure. Fully utilizing those tools is of course up to the user. In this post, we’ll run through all the iOS 11 settings you need to adjust if you want to make your iPhone as secure as possible.
Set an alphanumeric passcode: If you truly want your iPhone to be secure, you’ll need to set a passcode, not a PIN code. 4-digit PINs are fairly secure. 6-digit PINs are far more secure. But no current option is more secure than a passcode that consists of a combination of letters and number. To set an alphanumeric passcode on your iPhone in iOS 11, go to Settings > Touch ID & Passcode and then select “Change Passcode.” Then select “Custom Alphanumeric Code” from the pop-up.
Disable Touch ID: Look, we all love the speed and convenience of Touch ID, but in reality it’s exponentially less secure than just using an alphanumeric passcode. Someone can put your finger on your phone while you’re sleeping or incapacitated, and the police can compel you to unlock an iPhone with a fingerprint scan. The fifth amendment prevents authorities from demanding your passcode, however. Go to Settings > Touch ID & Passcode and disable Touch ID if you want to be as secure as possible.
Protect your lock screen: While you’re still on the Touch ID & Passcode page in the Settings app, you can stop content from displaying on your lock screen. This way, no one can read your private information while your iPhone is locked. Simply scroll down to the “Allow access when locked” section and toggle everything to off.
Disable widgets: For the same reason, you should also disable any widgets that might display sensitive information. Swipe to the right on your lock screen or your first home screen, and then scroll down to “Edit” to remove widgets you don’t want anyone to have access to.
2FA: Last but certainly not least, enable two-factor authentication, which is also known as 2FA. All of the measures you’ve taken above are for naught if someone hacks into your iCloud account. In the Settings app, tap on your name at the top of the screen. The go to Password & Security > Two-Factor Authentication and follow the on-screen instructions.


