How To Use Universal Control On Mac And iPad
Universal Control is a great new feature introduced in macOS 12.3 and iPadOS 15.4. With Universal Control, users can turn their iPad into an additional display for their Mac. This lets you easily move content between the two devices, by simply dragging and dropping them from one display to the next. Here's what you need to know if you want to use Universal Control on your Mac or iPad.
How to set up Universal Control
You're going to need to set the feature up before you can start using it. To do this, head to the Display settings in your Mac's preferences. Look for the Universal Control button at the bottom of the window.
Selecting this button will bring up another menu with several options you can tick off. Select all the options you want to use and then click Done.
Next, you need to set up Universal Control on your iPad. Open your Settings and navigate down to General. From here tap AirPlay & Handoff and then toggle Cursor and Keyboard to the on position. With that done, you're ready to start using Universal Control.
How to use Universal Control
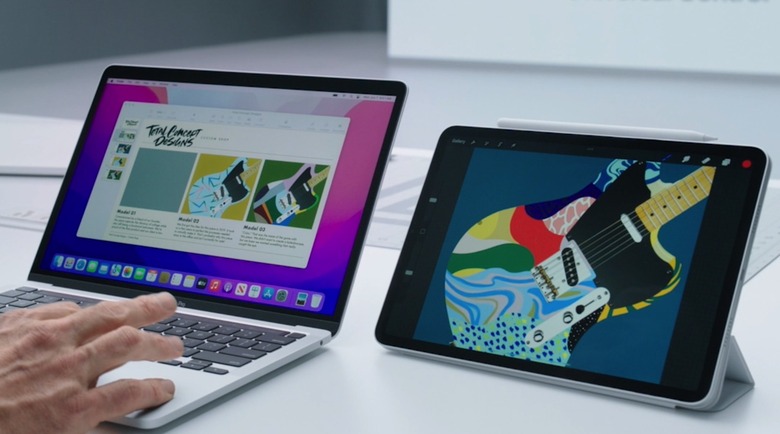
Now all you need to do to use Universal Control is move your two devices next to each other. Then, using the cursor on your Mac, move it to the side of the screen in the general direction of the other device. Continue moving it beyond the edge of the screen.
The cursor should now appear at the edge of the other device, whether it's a Mac or iPad. Continue pushing the cursor all the way through until you are able to interact with items on the other device. If for some reason you're unable to get the cursor to push all the way through, you can always complete the connection manually.
Open the Displays setting in your Mac's preferences. If you don't see the new device, click the Add Display option and then select the new device. Keep in mind that your devices will need to be within three feet of each other to use Universal Control.
What can this feature do?
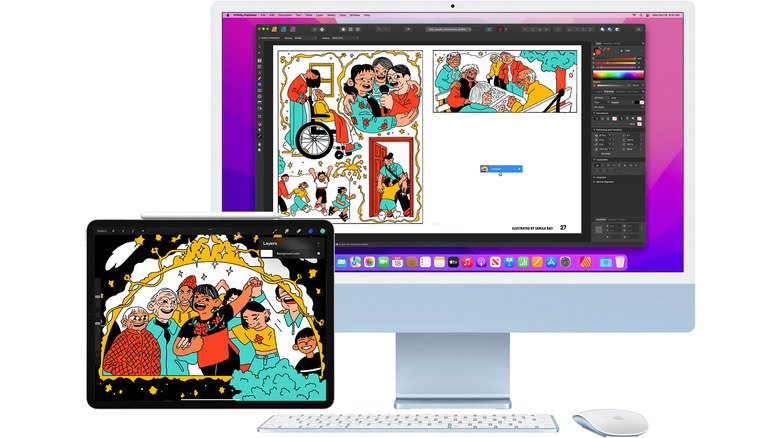
Much like Universal Clipboard, this feature is all about two devices working together more seamlessly. When enabled, it essentially lets you use both a Mac and an iPad (or even multiple Macs) together with the same mouse and keyboard. This means you can more easily swap between multiple devices to do things like edit photos, write documents, and put together with other projects.
One of the most useful things you can use Universal Control for is dragging and dropping between devices. This makes it exceptionally easy to share content between two devices, especially if you rely on multiple devices during your everyday workflow. Some examples of things you can drag and drop include sketches made on the iPad with your Apple Pencil, photos from your Mac that you want to share through your iPad's apps, and even normal files that are supported on the iPad.
iPads that can support Universal Control
- iPad (6th generation) and later
- iPad Air (3rd generation) and later
- iPad mini (5th generation) and later
- iPad Pro
Macs that can support Universal Control
- MacBook from 2016 and later
- MacBook Pro from 2016 and later
- MacBook Air from 2018 and later
- Mac mini from 2018 and later
- iMac Pro
- iMac from 2017 and later
- Mac Pro from 2019 and later
- Mac Studio