One of the best features of any music streaming service is the ability to save songs, albums and playlists for offline listening. Like any other streaming music service, Apple Music can certainly eat through a good amount of data if you use it often.
With the launch of Apple Music, plenty of three-month free trial subscribers are anxious to test everything out, but rather than fiddle around with the controls, let us explain exactly how to save music to listen offline.
DON’T MISS: Google’s Plan for Self-driving Cars May Have Finally Been Exposed… and It’s Ground-breaking
Let’s start with the iPhone, iPad and iPod touch. First, head to the Music app and find a song, album or playlist you want to save. You should see a ‘More Options’ icon (…) to the right of the name. Tap that and then tap the button that says ‘Make Available Offline.’ You can find saved songs and albums under My Music > Library. Saved playlists will be under My Music > Playlists.
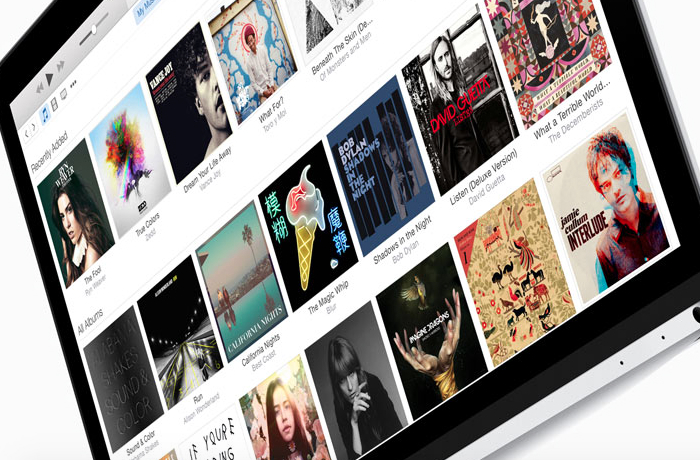
It’s even easier to save songs from iTunes on your Mac or PC. Simply find the item and click the cloud icon to the right of its name. Songs and albums will be accessible from the My Music tab and playlists will show up in the Playlists tab under Apple Music Playlists in the sidebar.
If you want to view just the items you’ve saved for offline listening, you can do so on your mobile device by going to My Music > Library and tapping the link that says Artists/Albums/etc. directly below the recently added queue. At the bottom of the menu, you’ll see a button that says ‘Show Music Available Offline.’ Turn that on.
On a Mac, just go to the iTunes menu bar, click View > Only Music Available Offline. On Windows, open iTunes, hit Control + B, then click View > Only Music Available Offline.
This should be a given, but remember, once your subscription runs out, the songs you saved for offline listening will no longer be available. You’ll have to resubscribe if you want to regain access to your offline collection.


