Congratulations, dear reader. You followed our instructions to skip the queue and install Windows 10 without waiting, and now you won’t have to live another minute with Windows 8. As familiar as Windows 10 is though, there will still be a period of adjustment while you check out Microsoft’s new features and learn how to get the most out of them.
Among Windows 10’s best new features — which we listed earlier on Wednesday — the triumphant return of the Start Menu is unquestionably ranked near the top. It has definitely evolved from the Start Menu of old, however, so let’s take a look at how to use all of its most important new features.
MORE COVERAGE: Windows 10: The first 5 things you need to do immediately after you install it
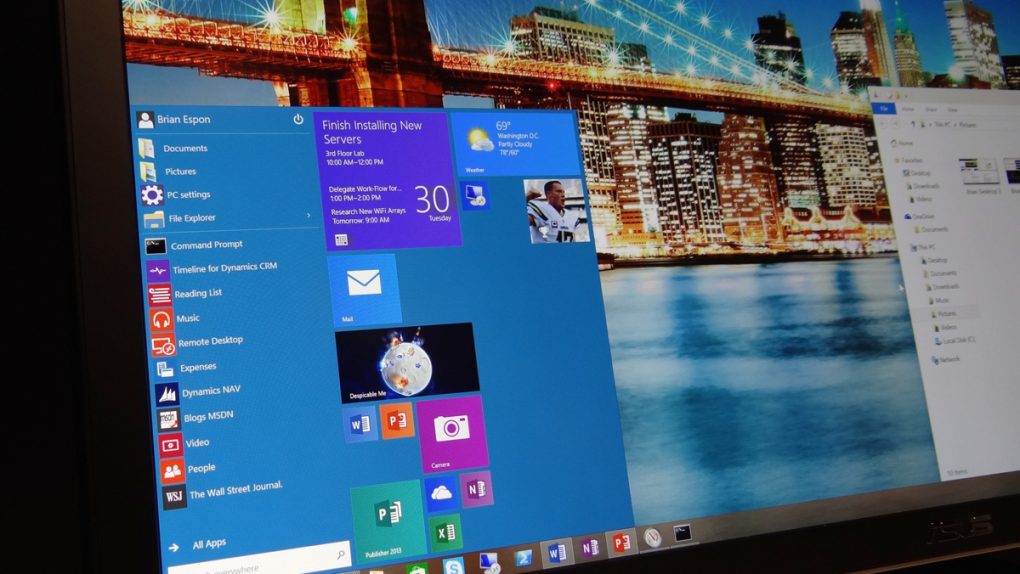
First things first: the Start Menu looks quite a bit different from the one you’re used to in Windows 7 and earlier versions of Microsoft’s desktop OS. Here’s a quick look:
As you can see, Microsoft used a somewhat traditional layout on the left side of the menu, and then a tile-based section reminiscent of Windows 8’s Start screen can be found on the right.
Don’t be afraid… it’s not going to take over your computer like it did in Windows 8 — unless you want it to.
Clicking on the top-right corner of the Start Menu and dragging your mouse or finger will resize the box. You can also customize the look and feel of the Start Menu by opening Settings and then clicking on Personalization.
Right-clicking on any tile will open up a small menu with options to unpin it from your Start Menu, resize it, disable live tile features (animated updates that display on the tile) or pin the tile’s associated app to the task bar below. Left-clicking and holding on any tile will let you drag it around to rearrange the order of your tiles, or to regroup them.
Right-clicking any app or file anywhere on your computer will give you an option to pin it to the Start Menu.
Finally, clicking Settings, Personalization and then Start will allow you to enable or disable a few key features. “Show most used apps” will automatically pin apps you commonly open near the top of the left side of the menu, while “Show recently added apps” will add a section beneath that to show apps you’ve recently installed.
You can also toggle “Use Start full screen” to on if you’re a masochist.
—
Haven’t installed Windows 10 yet? Here’s how to skip the queue and install Windows 10 right now.


