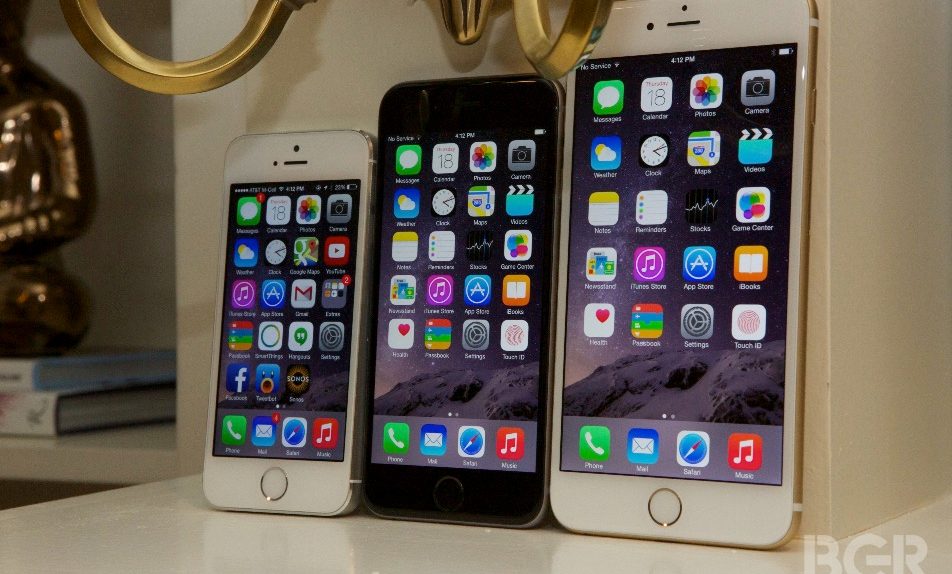
So, you just got your iPhone 6 or iPhone 6 Plus, either after waiting in a tremendously long line or after waiting for hours for that delivery guy to show up with your preordered unit, and now you’re finally ready to start using it as your next phone. But you also want to make sure that all your data from your previous iPhone model is properly moved to your brand new toy. For many longtime iPhone users, this procedure is a piece of cake and they’re already prepared, but many others might not be aware of what they’re supposed to do next.
FROM EARLIER: The very first thing you should do after turning on your new iPhone 6
iMore has an extensive how-to guide for safely transferring data from any old iPhone model to the iPhone 6 and/or iPhone 6 Plus, that explains everything you need to do.
First, you have to back up all the available data on your existing iPhone, either via iCloud, or using iTunes on a Mac or Windows computer. Then, once the backup procedure is done, you should start configuring your new iPhone 6 by following the on-screen steps.
Once you get the Set Up iPhone screen, you’re given three choices: setting it up as a new iPhone, restoring from iCloud backup, or restoring from iTunes backup.
Either one of the two restore options is going to get the job done, as long as that’s the way you backed up your iPhone. With iCloud backups, you don’t need to hook up your iPhone 6 to a computer, but if you choose iTunes, then you’ll need to connect the handset to the Mac or PC with help of the Lightning cable that came in the box.
In case you have performed the iPhone 6 setup and skipped those restore steps without realizing what they mean, then you can either restore your backed up data via iTunes, or reset your iPhone 6 in order to perform the set up procedure once again.
These procedures are rather simple, but if you still have doubts, make sure you check iMore’s detailed guide, complete with screenshots to guide you through every step. To further help you with these tasks, especially if you misconfigured your iPhone 6 and need to reset it, you can check this Apple support document, complete with even more handy images.


