Windows 10 has done a fantastic job thus far of replacing the sour taste left in our mouths from Windows 8 with the sweet, sweet taste of software that’s actually intuitive and user-friendly. No longer is Microsoft attempting to cram a tablet interface down our throats on desktop and laptop computers, and that simple fact alone is likely enough to make most users happy with Windows 10. Of course, Microsoft didn’t stop there — here are some of the best new features you’ll find in Windows 10.
Of course, there are still some remnants of Windows 8 floating around in Microsoft’s new operating system, and in this post we’ll show you how to get rid of the biggest ones.
DON’T MISS: Windows 10 is spying on almost everything you do – here’s how to opt out
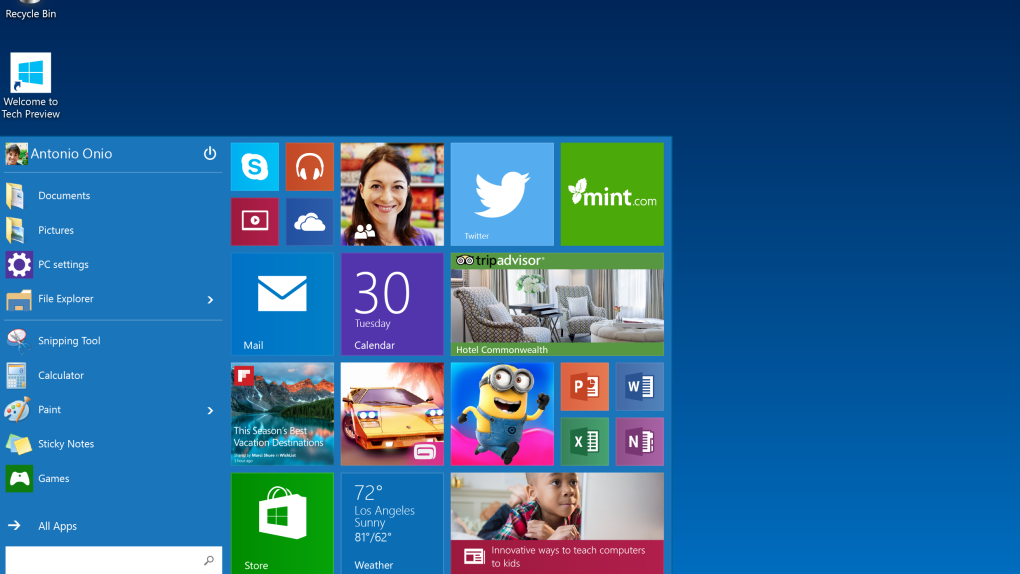
For millions of people around the world, the mere sight of Windows 8’s live tiles is enough to send shivers down their spines. For some, it might even result in some uncontrollable dry heaving.
By default, you’ll see those dreaded tiles each and every time you click the start button and open the Start Menu. But don’t worry, there’s an easy way to be rid of those colorful little tiles forever so you can pretend Windows 8 never existed.
The good news is, it’s possible to ditch all of Microsoft’s live tiles. The bad news is that it can’t be done by simply checking or unchecking a box. Instead, you’ll have to right-click on each tile in your Start Menu and select unpin.
MUST-READ: Windows 10: The first 5 things you need to do immediately after you install it
Once that’s done, you’ll be left with a be empty space where the tiles used to be. Just click and hold on the top-right corner of the Start Menu, and drag it all the way to the left so that only the “Places” and “Most used” section is showing.
Voila!
Now, we understand the need to erase any memory of Windows 8, but to be fair, Microsoft’s live tiles are actually pretty cool when they’re not being shoved in your face. Try leaving them for a bit and seeing how you like them.
For more tips on customizing the new Start Menu in Windows 10, visit this post.


