Tricks For Building A Wi-Fi Network That Covers Your Entire House
We all love Wi-Fi, but Wi-Fi routers can also be one of the most annoying pieces of technology in your home if not set up correctly. There are some ways a poorly configured wireless network can hinder your entire wireless Internet coverage, including spotty coverage in certain areas of the house and poor download speeds. Thankfully, there are some straightforward measures you can take to make sure you have the best possible Wi-Fi experience at home.
DON'T MISS: Pyro mini is a new $150 gadget that lets you shoot fireballs from your hands like a superhero
As detailed in Popular Mechanics, while configuring your home's wireless networks might sound like a complex chore, it's actually a lot easier than you think. All you have to do is make sure you understand a few simple concepts related to Wi-Fi speeds, router placement related to house size, and security.
First of all, make sure you get the right router. To do so, you should assess the maximum speed of your wired Internet connection and then buy appropriate gear. That means you have to be familiar with the various Wi-Fi standards: 802.11ac is the fastest standard available with speeds of up to 1Gbps while 802.11n gets you 600Mbps. To take advantage of maximum data transfer rates, however, you also have to make sure your PCs, smartphones, tablets and other Wi-Fi devices can support the same wireless data speeds. For example, your 802.11n smartphone won't get 802.11ac speeds.
Because you'll want excellent Wi-Fi coverage anywhere in the house, including the kitchen and bathroom, you'll have to place the router in a central position, within wiring distance of your ISP's Ethernet modem.
Depending on how big your home is, you'll also have to consider buying a Wi-Fi extender to place in an additional location in the house (a different floor, the basement, and other remote areas).
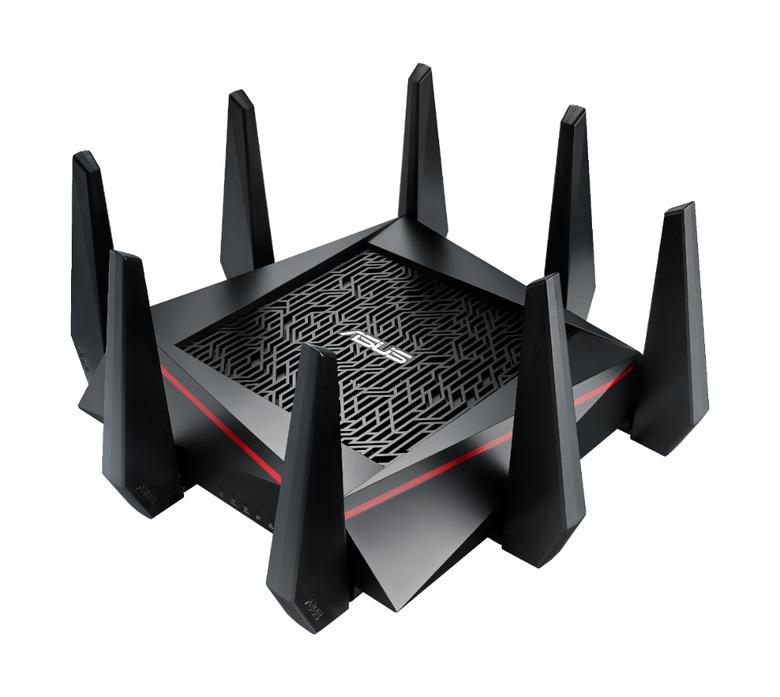
Now, once you've determined the kind of wireless Internet speed you need, and the number of extenders you should purchase, you should buy the right equipment. The more you pay for the router – and some of them are more expensive than others – the better experience you'll get. So if you want to get a decent connection and futureproof your network, you'd be better off investing some money in this particular gadget.
Setting up the network might sound like the hardest part, but it really isn't. Each router comes with precise instructions so you should be able to set it up fairly quick. You need to power down your Internet modem that comes from your ISP, plug in the new router into the output port, and plug the router into your primary computer for initial setup. Instructions on the screen should help with the installation (you might be required to use an install disk in the process). Once that's done, you'll be able to use your newly created network.
To hook up the extender, you'll have to connect it to the wireless network, but that shouldn't be too hard. Just make sure the extender can see the wireless network before you place it in your desired connection.
Finally, and this is an important part of the installation process, make sure you set up a secure password for your Wi-Fi network during setup. That way, at least you're taking steps to protect the security of your network and make sure your neighbors aren't taking advantage of it.
