How To Use Google Maps Glanceable Navigation On iPhone
Google announced about a year ago that Google Maps would get a Glanceable navigation feature on Android and iPhone that will put navigation right on the lock screen. I said at the time this would change the way I use Google Maps, especially when using navigation for walking or public transit.
It took Google a while, but it finally brought Glanceable navigation to Google Maps. It's available on Android and iPhone, and I can confirm I have it running right now in Europe. On a personal note, I wish this feature dropped earlier this week, while I was busy navigating Barcelona during MWC 2024. I could have definitely used Glanceable navigation on the Lock Screen whenever I needed to make my way around the conference.
Then again, maybe Google Maps did actually gain Glanceable navigation before I even got to MWC. I have no way of knowing since Google didn't announce the availability of the feature. Android Police first noticed it on Android, confirming that the feature rolled out in several different markets.
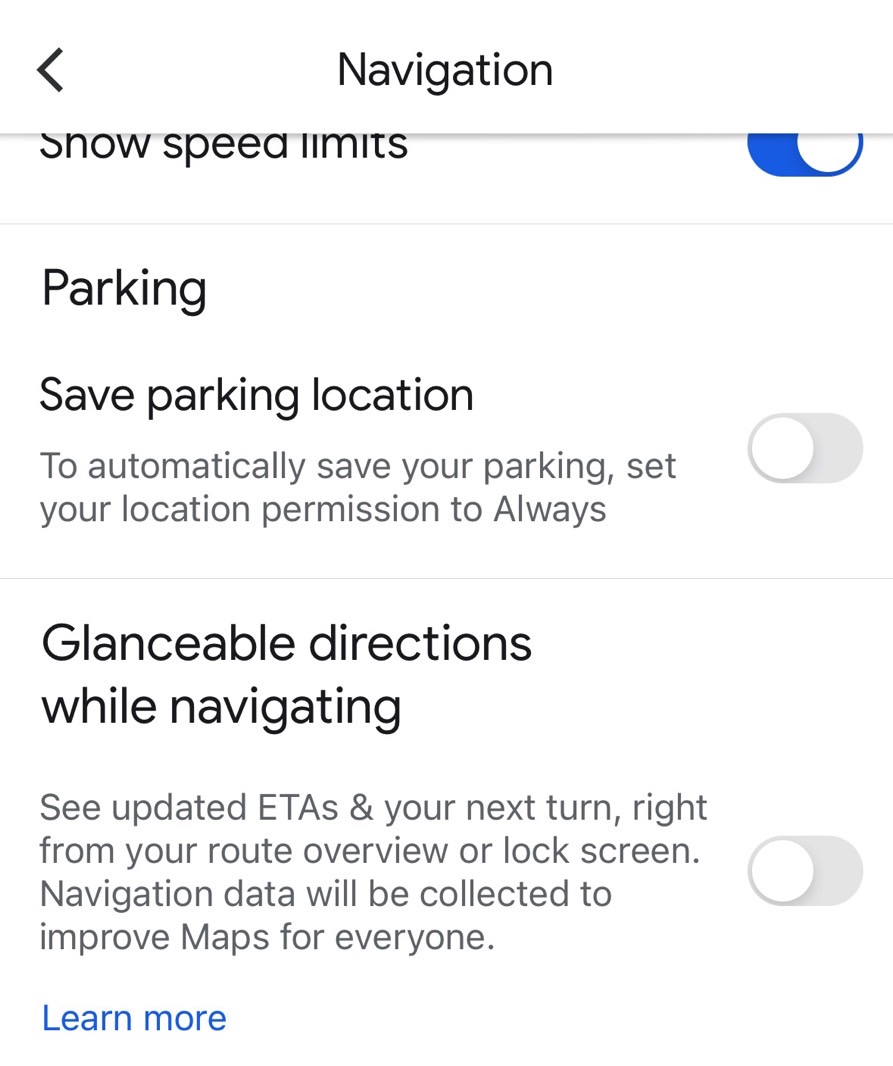
But Glanceable navigation is turned off by default. You need to go to the Google Maps Settings, look for the Navigation menu, and enable the Glanceable directions while navigating feature. You wouldn't have discovered the feature accidentally, that is.

Here's how Google explains the feature:
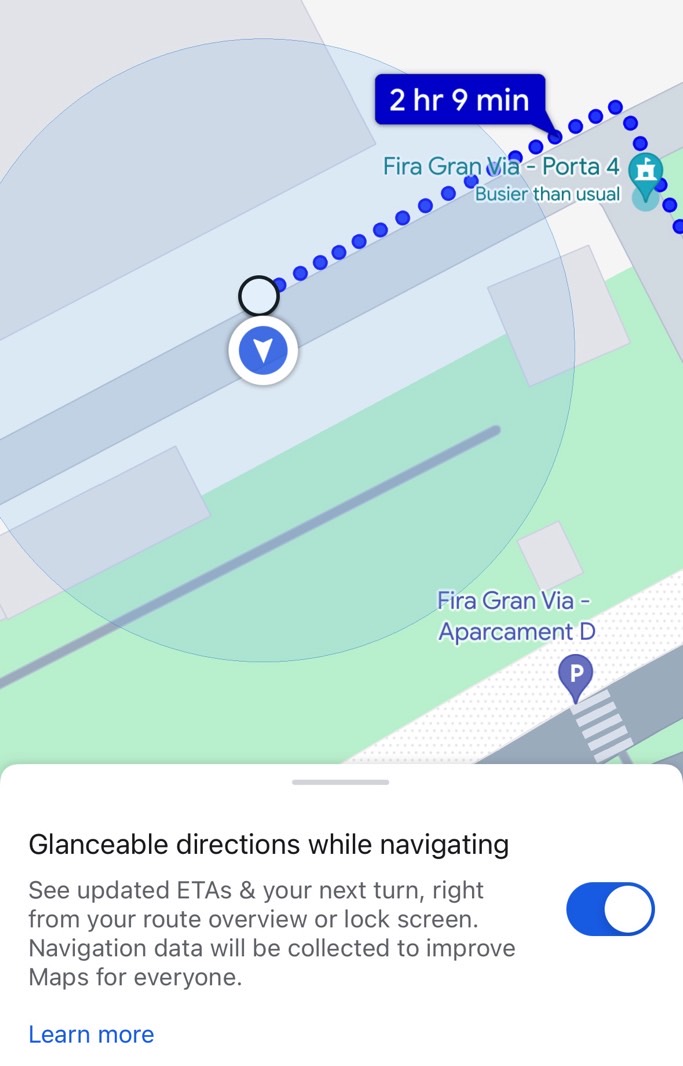
Glanceable directions, which automatically gives you updated ETAs and your next turn as you move along your route—right from your route overview or lock screen. You can turn off glanceable directions by visiting Settings or tapping the blue dot.
Tapping the blue dot on the map, which pinpoints your current location, is the faster way to enable and disable Glanceable navigation. When the feature is enabled, you'll see the dot change to an arrow.

That said, I can't tell whether it really works. I've tried simulating the feature as I'm writing these words. From the looks of it, Glanceable navigation doesn't work on the Lock Screen. That is, you'd still have to unlock the iPhone to see the map.
I'll still have to walk around and experience it in the wild. I will say that Face ID unlocks the phone very fast. I'll have to block the sensor and see if the app works on the Lock Screen. That's what I did while sitting down, and the iPhone asked me to unlock the screen to access Google Maps.
You can try it on your handset right now and see whether Glanceable navigation does the trick. That is letting you use Google Maps navigation without necessarily unlocking the screen.
