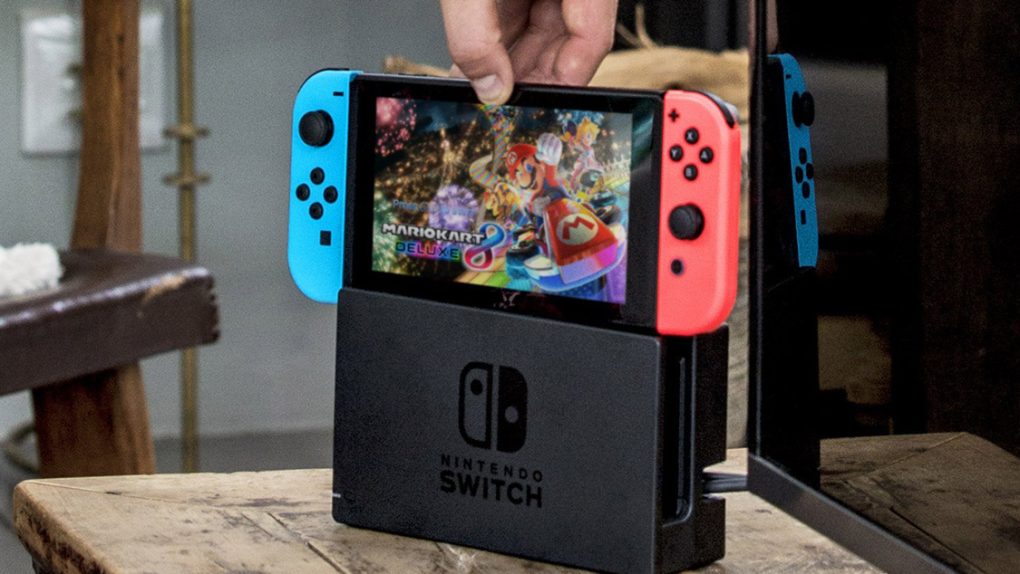
A little over a month ago, Nintendo rolled out firmware version 3.0.0 for the Switch. It was the first major update released for the console since launch, but aside from adding new features and fixing a few bugs, the update also introduced a strange issue. Some Switch owners reported that the battery indicator on the Switch was no longer accurate and that they were able to continue playing on the Switch even when the battery indicator showed that there was no charge.
This week, with the rollout of firmware version 3.0.1, Nintendo issued a fix for the bug. That bad news is that the process to fix the battery indicator is so complicated that it could take hours to complete.
Here is the complete list of steps you’ll need to take to fix the indicator if simply installing the firmware update doesn’t work. Make sure to set aside some time, because this could take a while:
- Ensure the console has the latest system update. The steps below apply to system menu version 3.0.1 or higher.
- Set the Auto-Sleep mode to “Never” for “Playing on Console Screen” and for “Connected to TV.”
- Connect the AC adapter directly to the console until the battery is fully charged.
- If the battery charge indicator does not reach 100%, simply allow the console to charge for approximately three hours.
- The console can be in use while it is charging.
- Once the battery is fully charged, leave the console alone for one hour with the AC adapter still connected to it.
- Afterward, disconnect the AC adapter and allow the console to display the HOME Menu for approximately three to four hours.
- The remaining battery life must be depleted as much as possible.
- Once the battery charge is almost depleted, power off the console by holding down the POWER Button for three seconds, then select “Power Options” > “Turn Off.” Leave the console alone for at least 30 minutes.
- Repeat steps 2 – 6 several times.
- The battery charge indicator will improve gradually by repeating this process several times.
It’s unclear why all of this is necessary to repair a simple problem, but if you want to battery indicator on your Switch to start functioning properly again, you’re going to have to spend the next several hours, if not days, charging the console and then letting it slowly run out of battery. Hopefully Nintendo will work on a less time-consuming fix in the future, but for now, this appears to be the only solution.


